Customers can be created in three ways:
- Manually by the website owner.
- Automatically by capturing customer data, for example when visitors request access to password protected content.
- Imported in bulk using an XLSX file.
Create a new customer manually
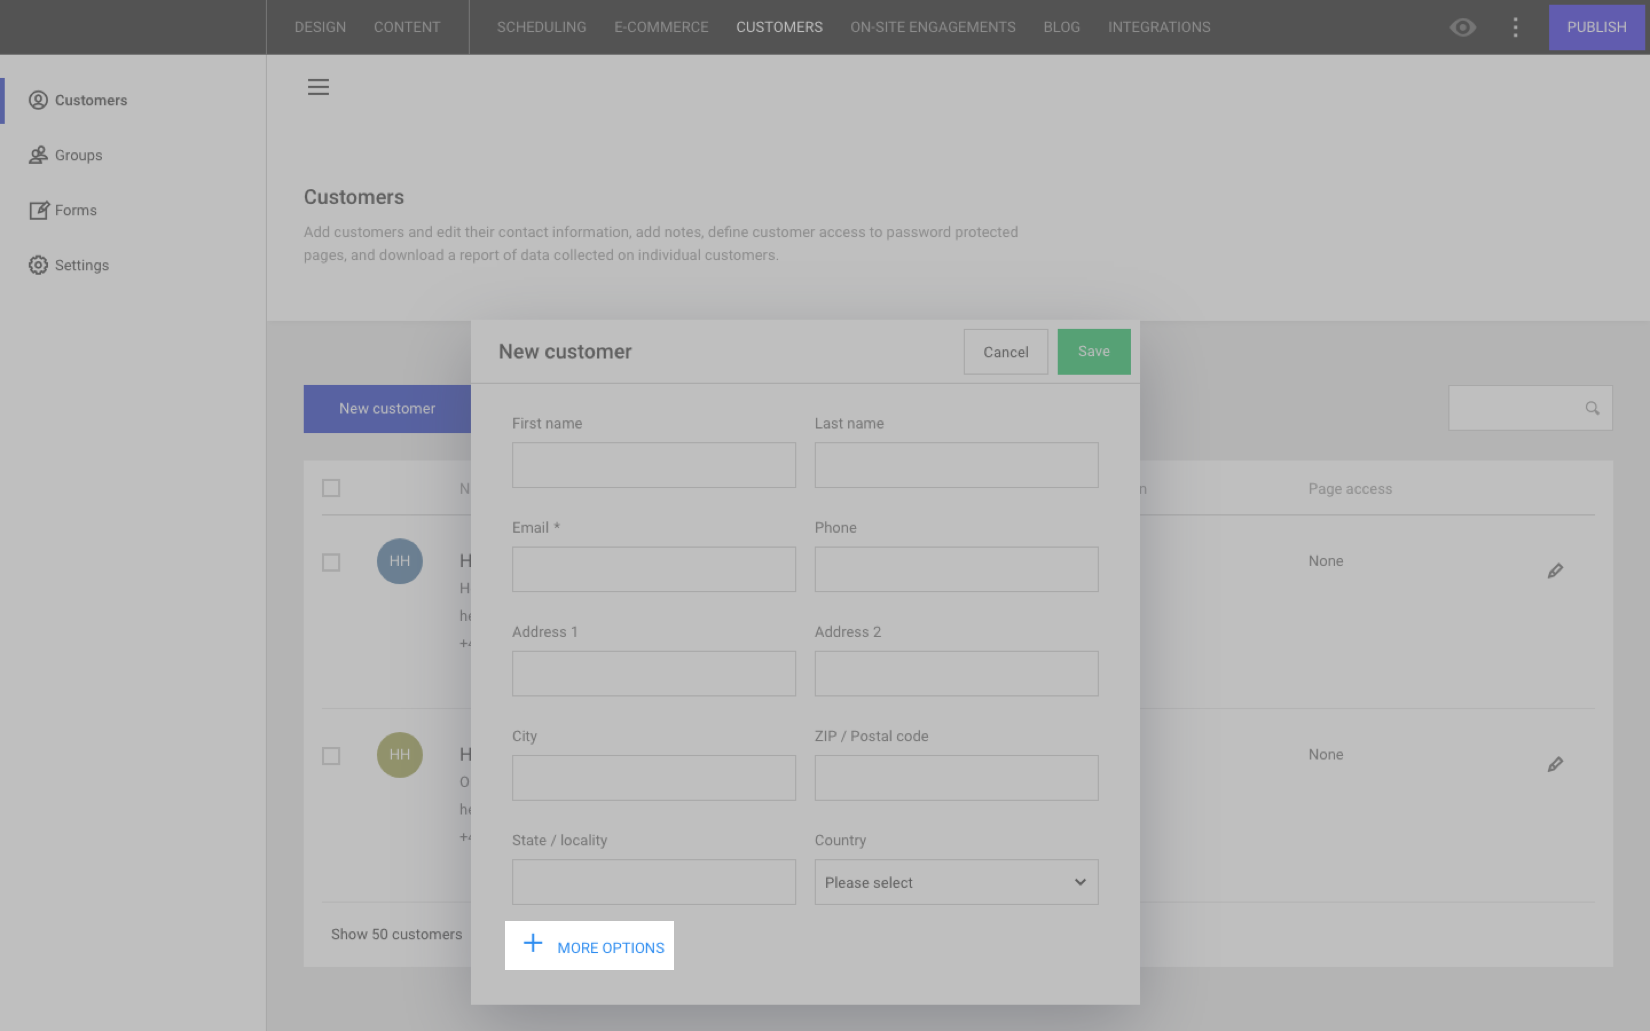
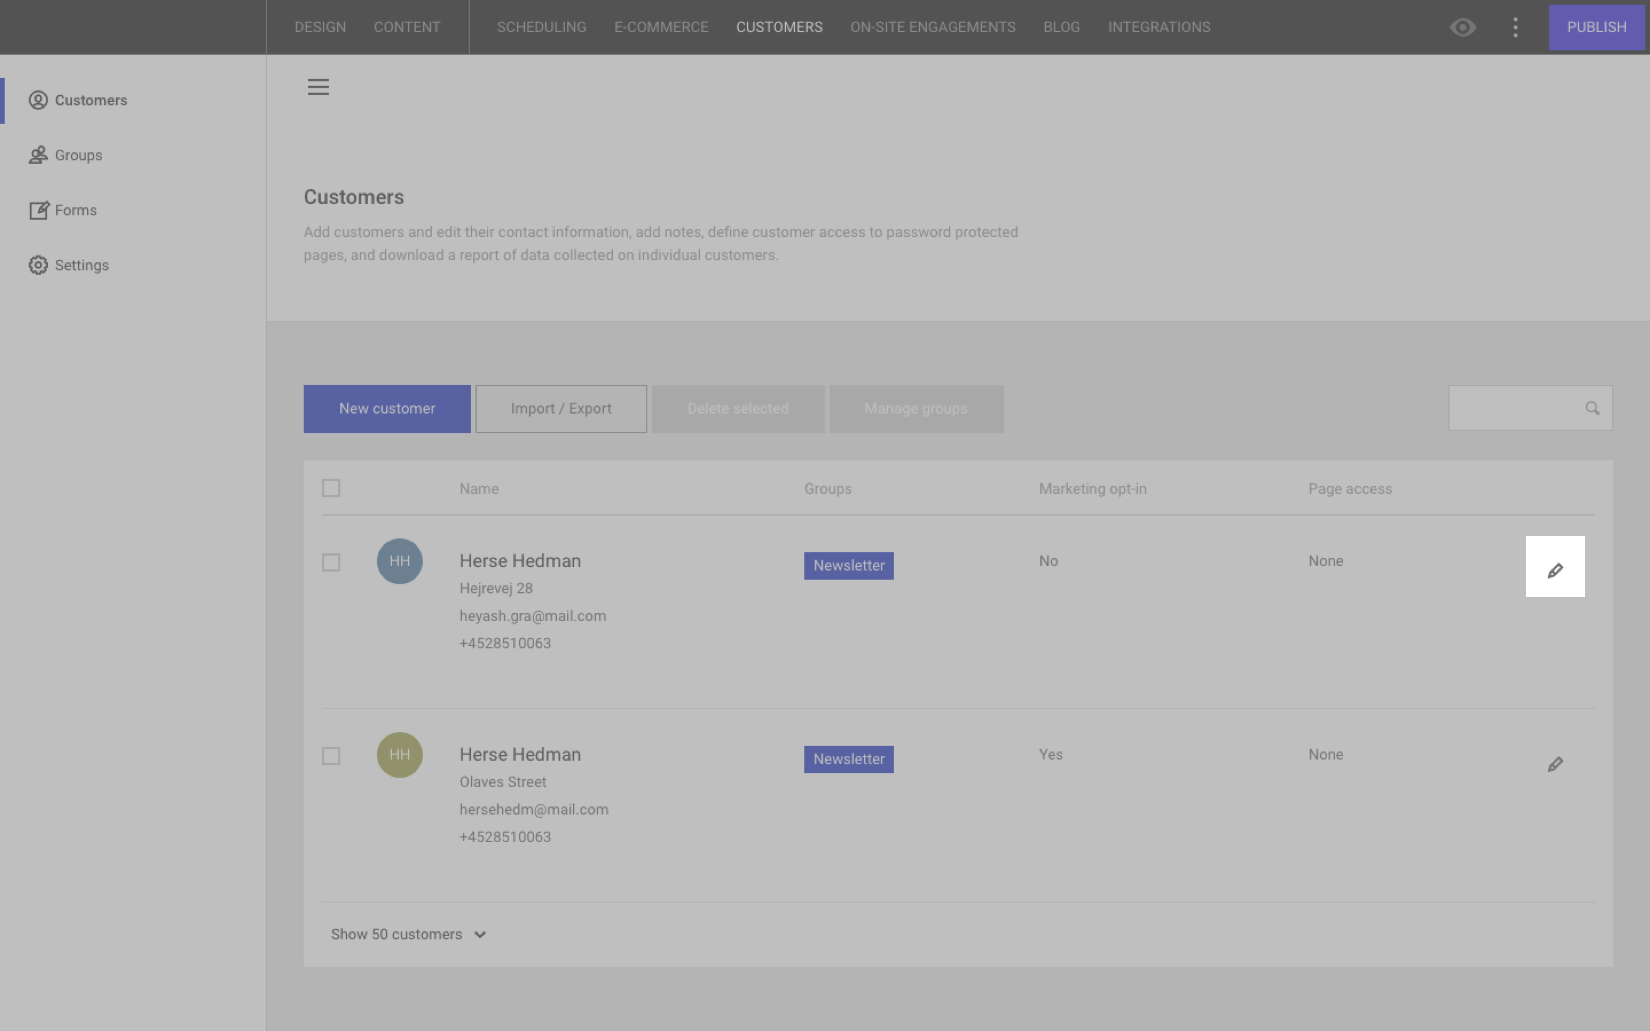
To create a new customer in the Editor, click the New customer button.
Fill in the basic details about the customer on the overlay or click + MORE OPTIONS to fill in additional information, add notes about the customer, and manage their access rights to password protected content.
To edit an existing customer in your database, click on the pencil icon on the far right.
On the customer profile page, there are 3 tabs:
- Home: add notes about the customer, for example about past purchases, birthdays, etc. In the Activity feed, actions performed by the customer on your website are logged, for example when they place an E-commerce order, sign up for newsletters, comment on a blog post, etc. Finally, with User report you can generate a full report on what data you have collected on this customer. Read more about this feature here.
- Details: add or edit the basic contact information for the customer. Here you'll also find an Email Marketing opt-in indicating whether a customer has consented to receiving email marketing campaigns from you. Website visitors who have signed up using the Email signup form module or the On-Site Engagement type Sign up to a newsletter will automatically have Email marketing opt-in enabled. You can also manually tick and untick the box on the customer's profile page if you have received either written or oral consent from them. Any customers who have not opted in to receiving emails from you will be filtered out and won't receive email campaigns.
- Access and groups: add the customer to one of your groups. Here you can also invite the customer to access any password protected pages you have on your website by clicking the Invite customer to access button. The customer will then receive an auto-generated email with a link to create their password. Please note that the link will expire in 7 days from the time it was sent out.
Remember that customer access is based on which groups you allow to view a particular page in your page settings. If you have password-protected a page and only allow the group "vip" to enter, then any logged-in customer who doesn't belong to this group will not be able to gain access. Therefore, before you invite a customer to access, make sure that you have added them to the relevant group(s).
If a customer has forgotten their password, click the Reset password button to send out an auto-generated email with a reset password link. Please note that the link will expire in 24 hours from the time it was sent out.
When visitors request access to any of your password protected pages, the request will also show up in the Access and groups tab. From there you can approve or reject their access request. Read more about this process below.
Capture customers automatically
Apart from creating customers manually, they can also be created automatically when visitors engage with some of the Editor's modules and add-on features.
Customers can come from the following channels:
- When requesting access to a password protected page.
- When signing up through the Sign up to a Newsletter On-Site Engagement type.
When a customer comes in through one of the above-mentioned channels, a system-generated email will be sent out to the email address saved in Global Data, notifying you that a new access request is pending.
The new customer will figure on your Customers overview with the page access status "Pending".
Click the pencil icon to edit the customer and head into the Access and groups tab. There you have the option to either approve and reject the access request. If you approve the request, remember to add the customer to the relevant groups.
Bulk import customers
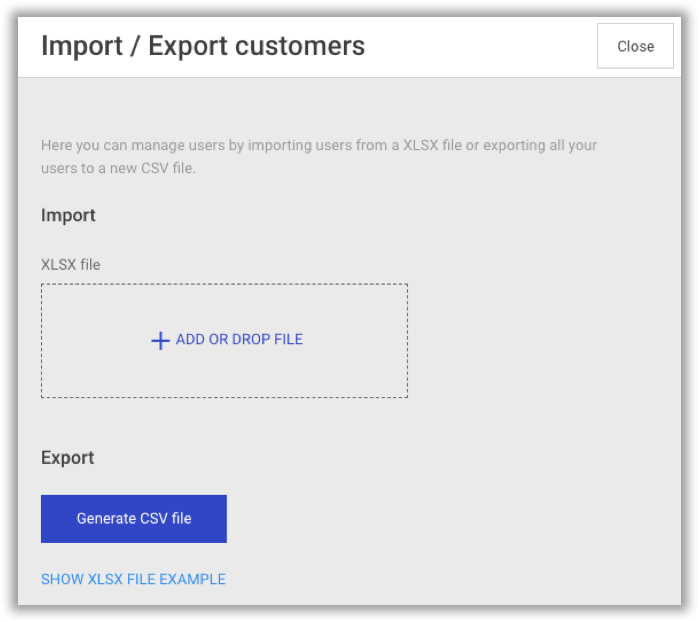
If you want to create multiple customers at once, for example if you are migrating them from another platform on to the Editor, you can import them using an XSLX file.
Click the Import / Export button on the Customers overview and then click Show XLSX file example on the overlay. Open the file in Excel.
In the file, the first row contains all the headings of the data that can be filled in. It's important that you don't edit this row as it will interfere with the data upload. You can start filling in customer data from the second row. Each row is the equivalent of one customer's data.
Here are a few helpful pointers for filling in the XLSX file:
- AdministrativeArea refers to the state the customer is based in.
- In the groups column you can add the customer to one or more groups. Input the name of the group in the cell. If you type in a name of a group that doesn't exist in the Editor, a new group will be created. You can add the customer to multiple groups by comma-separating them.
- Locality refers to the city the customer is based in.
- Organization refers to the name of the company that the customer works for.
- The column optIn allows you to indicate whether the customer has consented to receiving email communication from you. If left blank, the customer will not be receiving any newsletters you send out via the Editor. If you input "1" in the cell in the Excel sheet, email communication will be toggled and the customer can receive your newsletters.
Once you're done, head back into the Editor, add your XLSX file and upload it. A dialogue message will tell you how many new customers were uploaded successfully and if there were any issues with the data upload.